Chapter 10
附录
Appendix
556
of 659
English Translation
The primary purpose is to inspect products and make timely corrections when issues are discovered.
## 1. How to Create Technical Drawings
When you receive a teapot, first remove the lid. Use calipers to accurately measure: (1) outer belly diameter, (2) mouth diameter, (3) base diameter, and (4) height excluding the lid. Record these measurements carefully. If replication is needed, increase dimensions by 10%, then proceed to draw the diagram. First sketch the body outline, then draw the lid. According to requirements, mark cross-sectional views on half of the front elevation. This constitutes a complete technical drawing.
## 2. Calculating Dimensions
With the technical drawing complete, you can now calculate dimensions. The body mold cross-section is called the front elevation.
The inner belly diameter forms the circular edge—this dimension is the circumference.
The rim—this is the large opening dimension.
The base—slightly smaller than the false bottom.
### Calculating Clay Strip Dimensions
We employ a traditional method: at the widest point of the outer belly diameter, connect two points with a straight line, using the center point as the compass foot. Take a relatively soft wire and measure along the outer contour line (excluding the large opening area) to determine the outer contour's length. However, this length is not the height of the clay strip. If you use this height to form the body, it will be too tall. There is a fundamental principle here: the outer contour line length must be shortened. The larger the belly diameter and the smaller the base rim, the more the length should be reduced. Following this logic, first form one body to observe the shape effect, then make corrections accordingly.
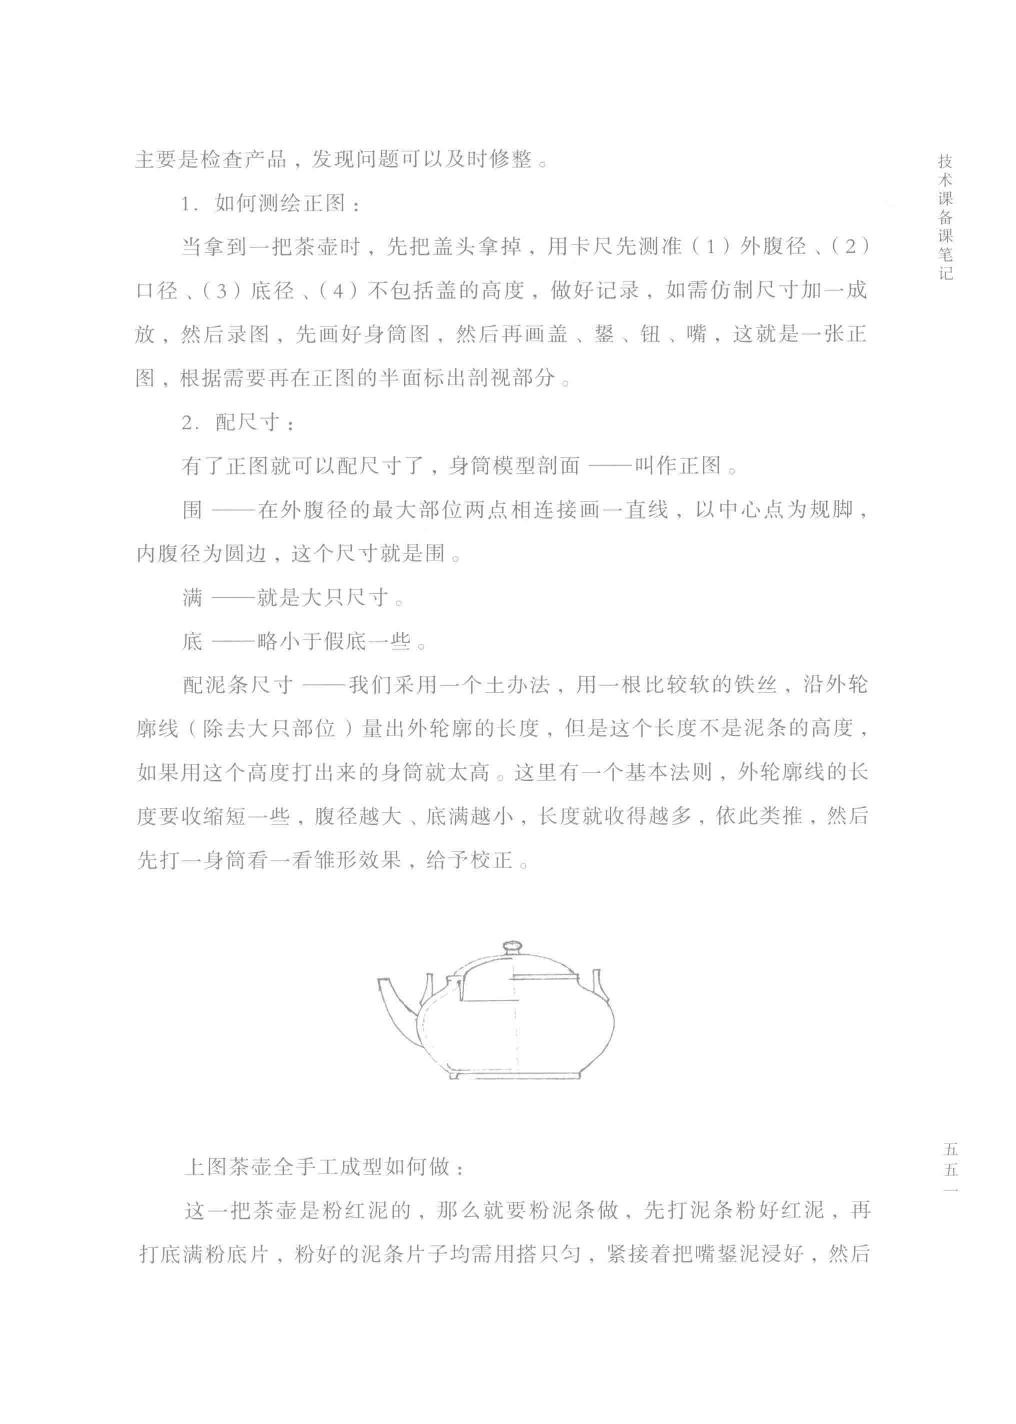
## Full Handmade Teapot Formation Process
This particular teapot is made from pink clay, so pink clay strips must be used. First, beat the clay strips to prepare the red clay, then beat the base rim to prepare the base piece. Both the prepared clay strips and pieces need to be evenly smoothed with a paddle. Immediately after, soak the spout clay, then...
Chapter 10
附录
Appendix
Pages 526-651
View Chapter →
English Translation
The primary purpose is to inspect products and make timely corrections when issues are discovered.
## 1. How to Create Technical Drawings
When you receive a teapot, first remove the lid. Use calipers to accurately measure: (1) outer belly diameter, (2) mouth diameter, (3) base diameter, and (4) height excluding the lid. Record these measurements carefully. If replication is needed, increase dimensions by 10%, then proceed to draw the diagram. First sketch the body outline, then draw the lid. According to requirements, mark cross-sectional views on half of the front elevation. This constitutes a complete technical drawing.
## 2. Calculating Dimensions
With the technical drawing complete, you can now calculate dimensions. The body mold cross-section is called the front elevation.
The inner belly diameter forms the circular edge—this dimension is the circumference.
The rim—this is the large opening dimension.
The base—slightly smaller than the false bottom.
### Calculating Clay Strip Dimensions
We employ a traditional method: at the widest point of the outer belly diameter, connect two points with a straight line, using the center point as the compass foot. Take a relatively soft wire and measure along the outer contour line (excluding the large opening area) to determine the outer contour's length. However, this length is not the height of the clay strip. If you use this height to form the body, it will be too tall. There is a fundamental principle here: the outer contour line length must be shortened. The larger the belly diameter and the smaller the base rim, the more the length should be reduced. Following this logic, first form one body to observe the shape effect, then make corrections accordingly.
## Full Handmade Teapot Formation Process
This particular teapot is made from pink clay, so pink clay strips must be used. First, beat the clay strips to prepare the red clay, then beat the base rim to prepare the base piece. Both the prepared clay strips and pieces need to be evenly smoothed with a paddle. Immediately after, soak the spout clay, then...
章节导航 Chapter Navigation
Chapter 1
序文
Pages 6-6
Chapter 2
引言
Pages 28-31
Chapter 3
达变
Pages 32-133
Chapter 3
开宗立派
Pages 46-66
Chapter 3
传道授业
Pages 67-98
Chapter 3
大师淳友
Pages 99-120
Chapter 3
学艺谋生
Pages 121-133
Chapter 4
化神
Pages 134-141
Chapter 5
独妙
Pages 142-405
Chapter 5
匠心独运 不苟丝毫
Pages 142-179
Chapter 5
器利善事 物尽其用
Pages 180-199
Chapter 5
紫泥春华 研精究微
Pages 200-405
Chapter 6
驾简
Pages 406-427
Chapter 6
精雕细刻 文质合一
Pages 406-410
Chapter 6
师法自然 妙趣横生
Pages 411-415
Chapter 6
丝来线去 曲尽其妙
Pages 416-427
Chapter 7
明志
Pages 463-485
Chapter 7
高山仰止 淡泊明志
Pages 463-472
Chapter 7
啜墨看茶 气定神闲
Pages 473-478
Chapter 7
齿少心锐 怡志抒情
Pages 479-485
Chapter 8
存真
Pages 428-462
Chapter 8
规圆矩方 弃伪存真
Pages 428-436
Chapter 8
有物有则 钻尖仰高
Pages 437-462
Chapter 9
心营
Pages 506-525
Chapter 9
坚守传统 艺立潮头
Pages 506-513
Chapter 9
新型师承 桃李满园
Pages 514-525
Chapter 10
附录
Pages 526-651
Chapter 10
顾景舟紫艺论文
Pages 526-535
Chapter 10
技术课备课笔记
Pages 536-543
Chapter 10
顾景舟艺术年表
Pages 544-651
Chapter 11
参考文献
Pages 652-657
Chapter 12
鸣谢
Pages 658-659